|
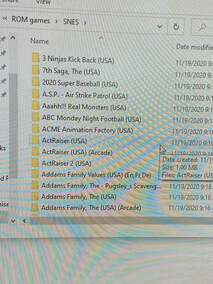
My first step was finding ROMS. ROMS are a digital file that can be run buy an emulator to play a game. ROMS are kind of a grey area in terms of Legality, so I'm not going to show where I got mine. Just remember to only go on websites you know are safe to download from.
|
|
|
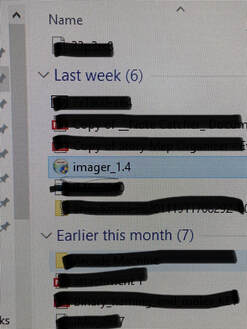
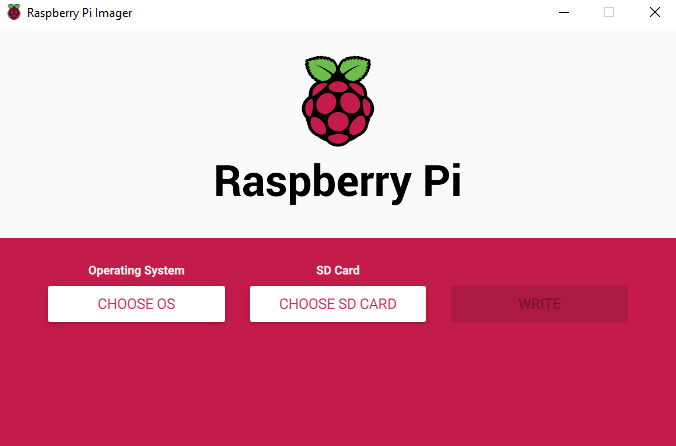
The second step was to download the Raspberry Pi imager. this puts Retro Pi (the arcade emulator) onto you SD card. You can download the imager at https://www.raspberrypi.org/software/
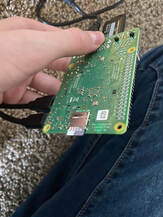
For the next step make sure your SD card is plugged into your computer. you will most likely need an adapter for it to plug in. |
|
|
Once you open the imager and have your SD card plugged in, Select Retro Pi as your operating system. then select the SD card that is currently plugged into the computer and then click write. this process will take a few minutes once finished take out your SD card and put it in your pie.
|
|
|
Here you can see where my SD card is plugged in
|
|
|
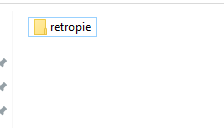
Going back to the ROMS, after you have all the ROMS you could ever want installed, Grab your empty USB stick and plug it into the computer. DONT put your ROMS onto it yet. Make sure it is formatted to fat32. this will wipe it completely. then go into the empty usb drive and make a folder titled retropie (all lowercase no spaces) then after you make the folder eject the drive and plug it into your Raspberry Pi. The Pie is now writing files to your USB and this will take a few minutes, just be patient and wait
|
|
|
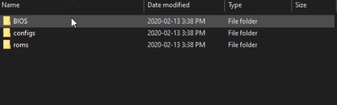
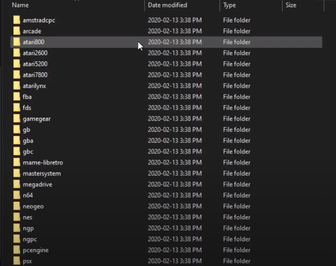
after 5 minutes or so take your flash drive out and plug it back into your computer. inside the retropie folder you created, the will be 3 new folders. you only need to worry about the roms folder. inside it you will see a folder for every system retropie can emulate. here is where you put your downloaded roms into. go into the folder of the system you ROM playes on and copy paste the ROM file. (you will most likely need to unzip the file and take the program out of a folder) put in all your Roms and then eject your flash drive.
|
|
|
|
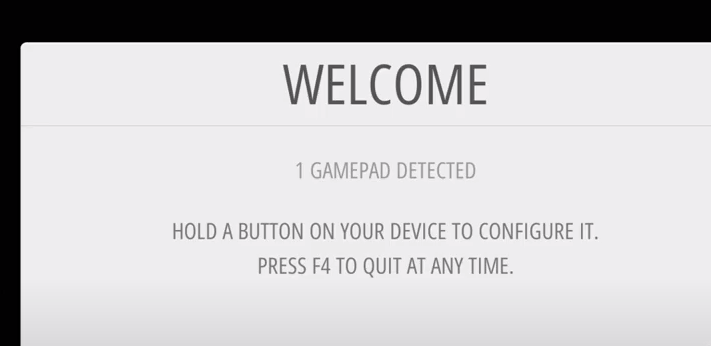
Once your Flash drive and SD card are in, make sure you have a controller of some sort plugged in. this could be a controller, keyboard and mouse, or arcade buttons. turn on your pie and wait for it to boot up. when first turning in on, you will see a pop up saying you have a Game pad detected. follow the instruction to set up the controls.
|
|
|
If you have done everything correct you should be on the main menu with all of the system your ROMS run on next to the retro pie logo.
|

|
This is technically a fully working arcade, but i am going to build a case around it to give it that classic arcade cabinet look.
|
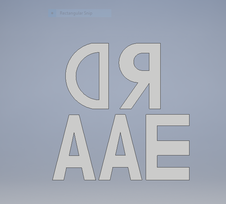
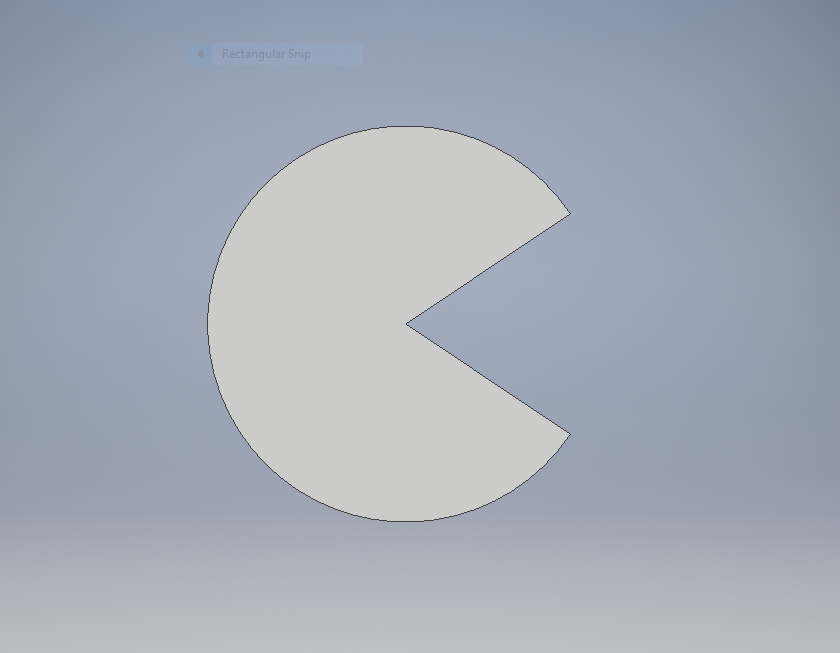
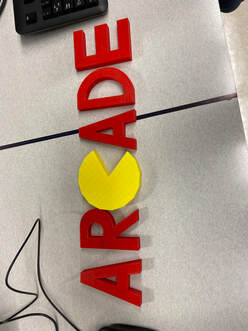
To start on the Cabinet section of the arcade, I wanted to design something for the marquee. i decided to go with a simplistic ARCADE sign that I 3d printed. for my C I made a Pacman. here are the 2 file designs I made. the Pacman will be printed in yellow so its being printed on a different printer
|
|
|
|
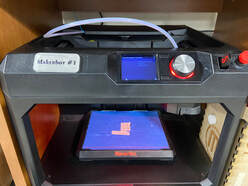
here is the very beginning where the printer is heating up getting ready to print
|
|

|
|
Here you can see the 3D printed text for the marquee. it took about 13 hours for everything to be printed. it was worth the wait though as i am very happy with how they turned out
|
|
|
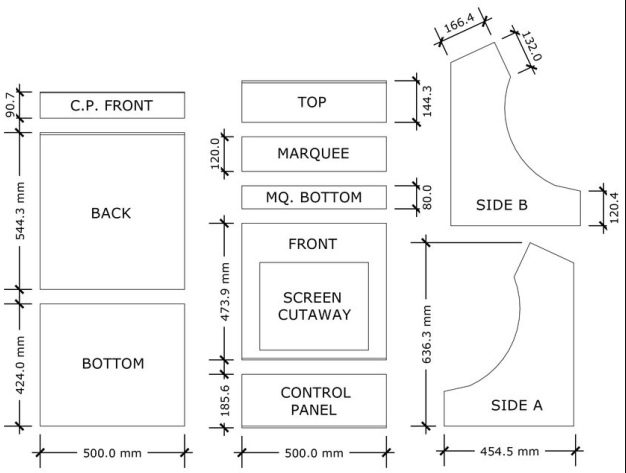
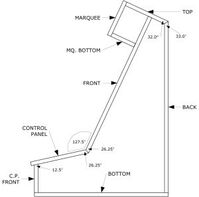
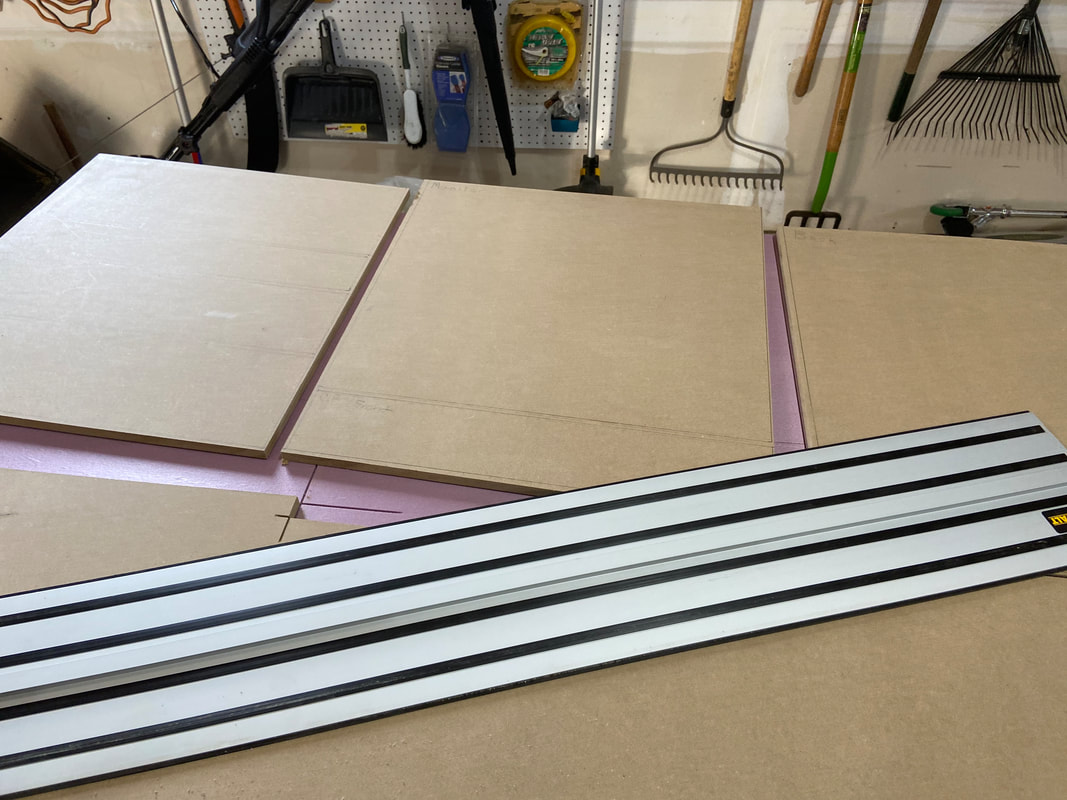
I am using a 4x8 sheet of 1/2 inch thick MDF. here you can see i have the dimensions sketched out on the board. these were the plans that i used and drew on the board.
|

|
|
|
|
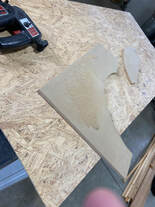
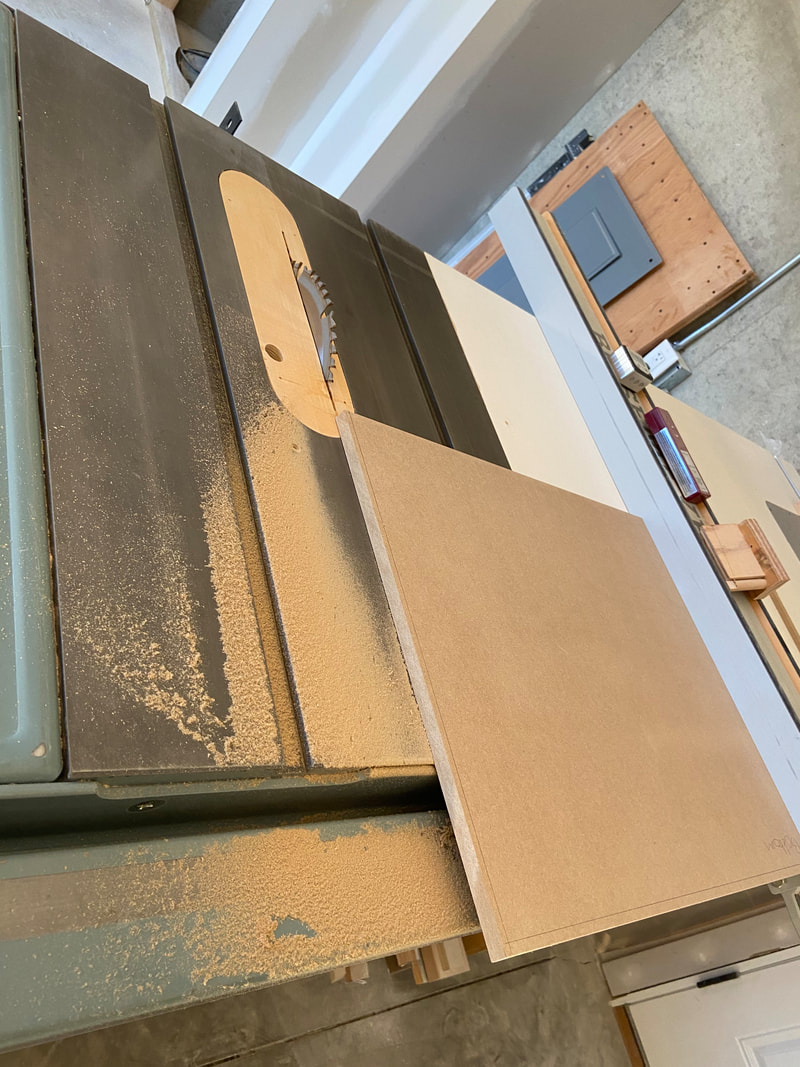
here i am starting to cut out each piece. I'm breaking the sheet into a bunch of pieces to make it more manageable, then I use a jigsaw, track saw, table saw, and a router to get the pieces cut out
|
|
|
|
|
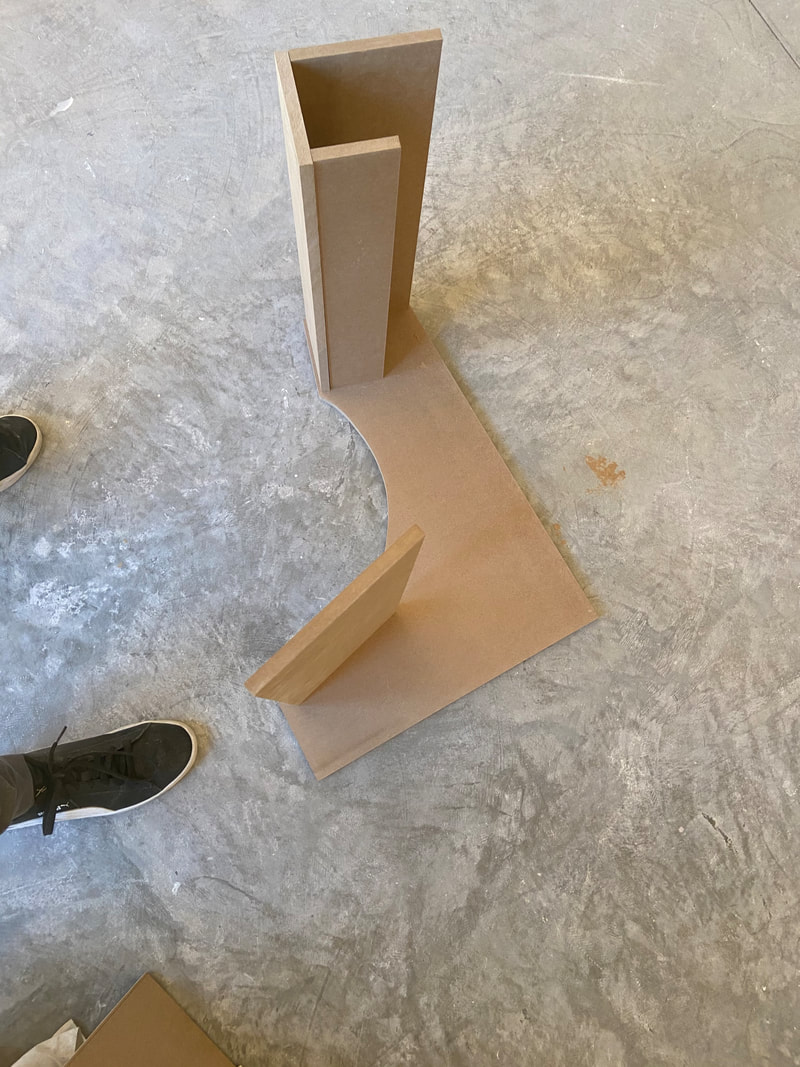
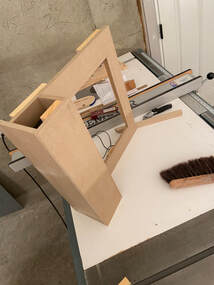
i started to fit some of the pieces together, i had to do this step by step to make sure i could get the final assembly completed as smooth as possible
|
|
|
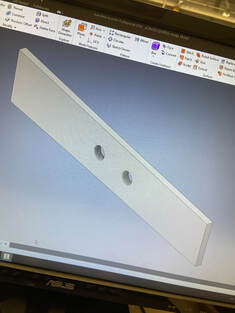
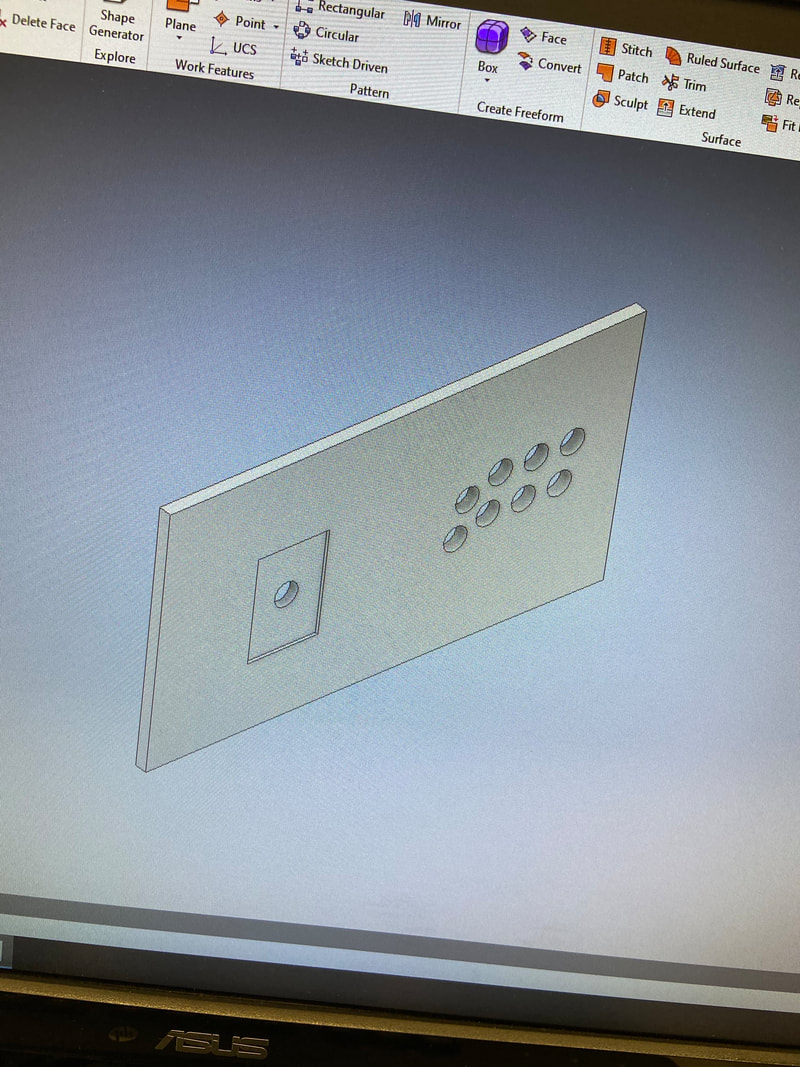
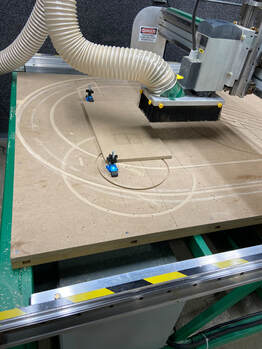
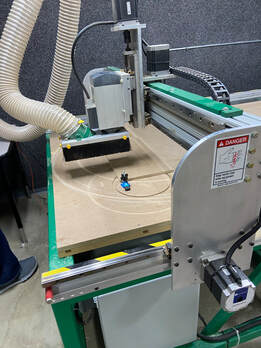
I wanted to Use a CNC machine to get the holes for my arcade button and joystick as accurate as possible. first i designed what i wanted the final product to be in Inventor
|
|
|
|
|
|
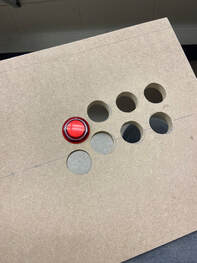
after using the CNC machine i had to use a Dremel to widen the holes a little bit so the arcade buttons could fit in
|
|
|
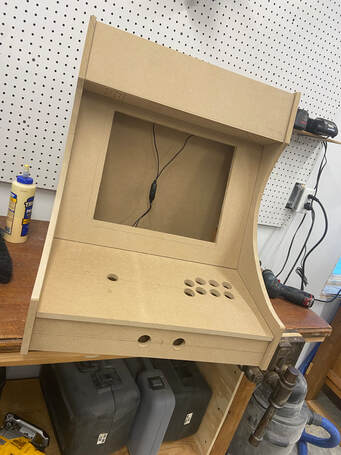
It was now just a matter of finishing assembly to get ready to paint it
|
|
|
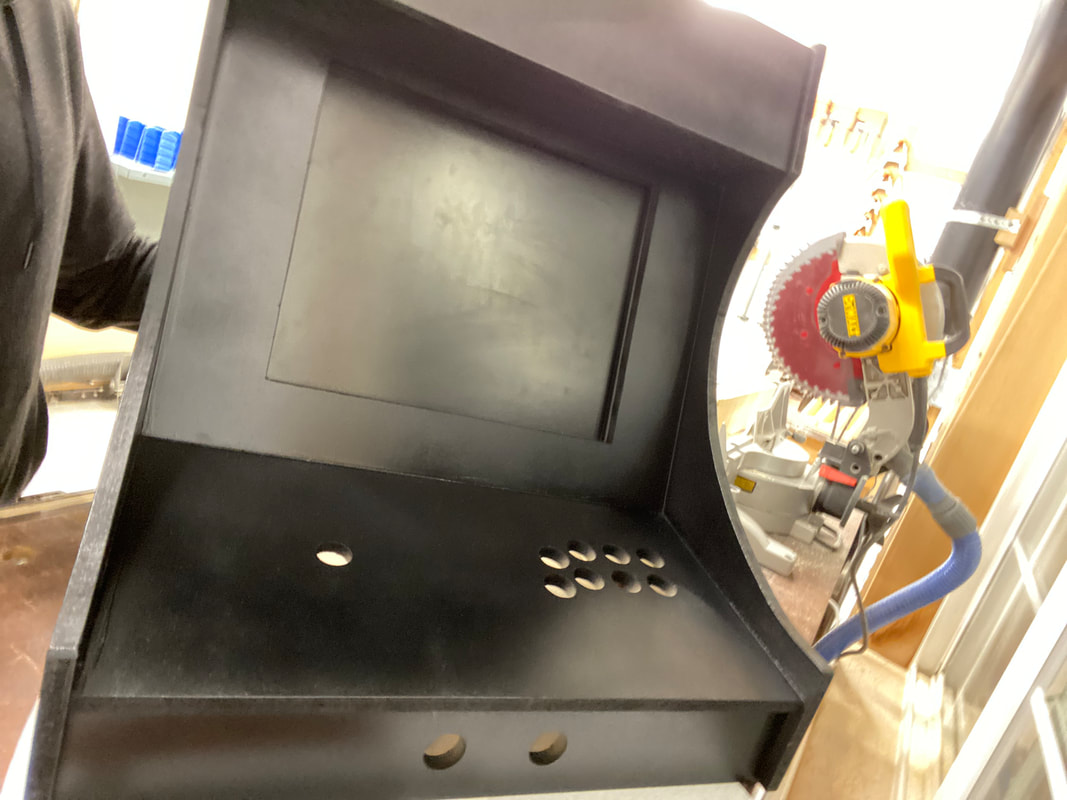
For painting i did a total of 4 coats. the first two were with a black glossy spray paint and the second two were a satin black spray paint
|
|
|
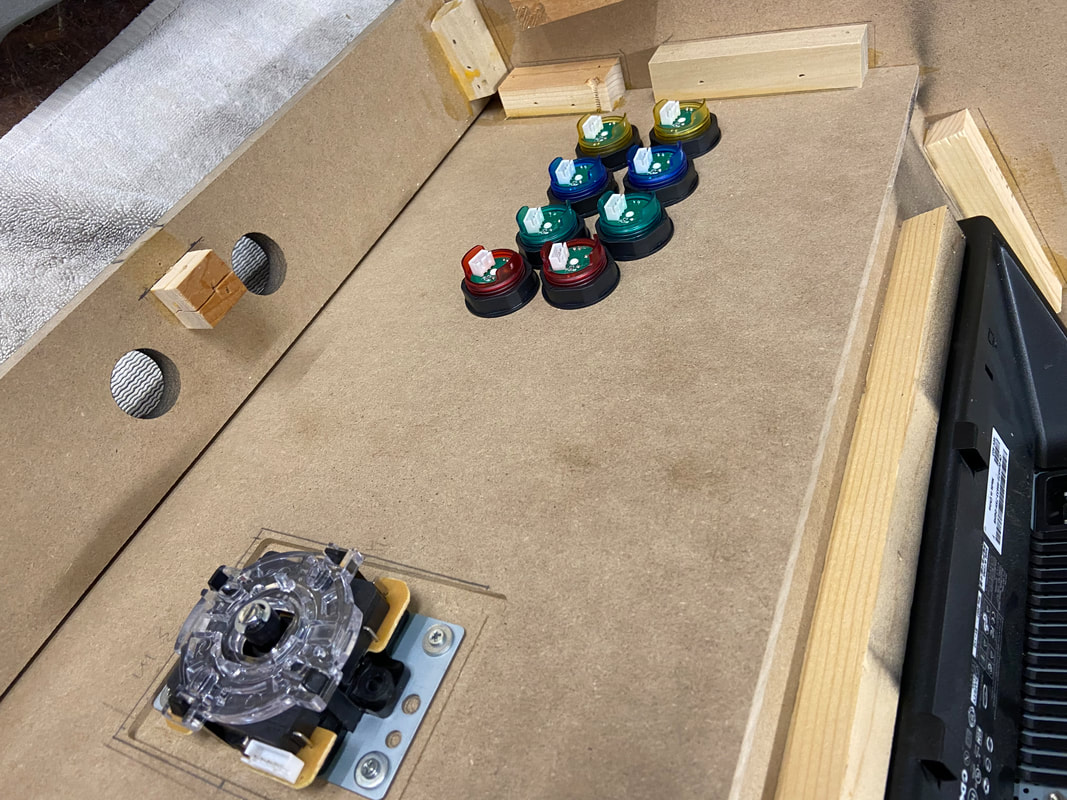
here you can see me putting the buttons and arcade stick into the slots i cut out with the CNC machine.
|
|
|
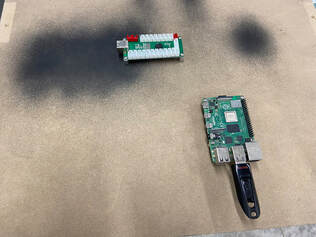
After the buttons were in it was a matter of screwing the electronics for everything into the base. i had some nuts keeping the motherboards slightly elevated to keep the wood from damaging them. after i just had to plug everything into the correct ports and it was all wired up.
|

|
|
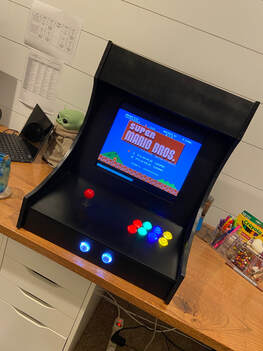
here you can see that the arcade functions perfectly and is running Super Mario Bros
|
|
|
I designed some custom Pac-man ghost stickers with a vinyl machine that i stuck onto the side
|

|
I used some heavy duty double sided gorilla tape to put the 3D printed letters i made onto the marquee and the arcade is completed!
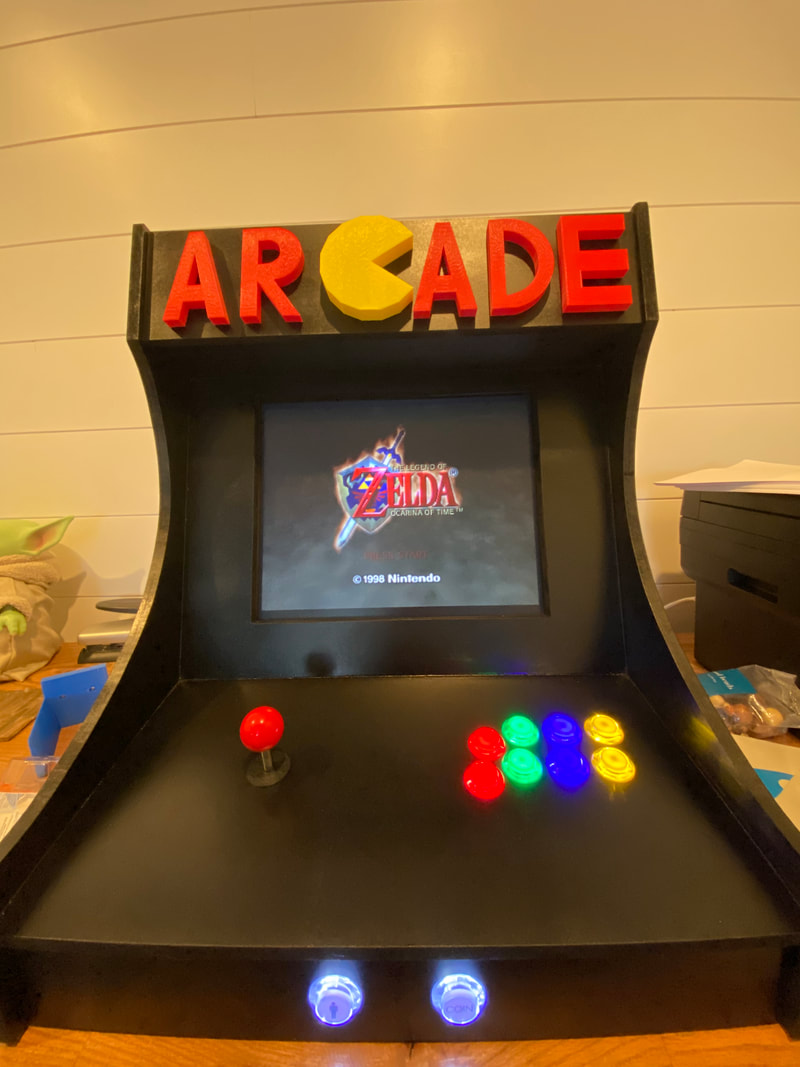
What did I learn? Completing this project I learned more about how electronics work, but I got a lot better using various tools in the shop. I learned how to create vinyl stickers, use a CNC machine and I got a lot better with the 3D printer. This was a very fun project to complete and I recommend it to someone who loves retro video games
Here is the Video Link for the arcade machine working- https://youtu.be/ABEDvjX34Q4
Here is the Video Link for the arcade machine working- https://youtu.be/ABEDvjX34Q4
