Adobe Illustrator is a graphics software that can be used to create or edit 2D images. you can use it with a vinyl cutter, laser cutter, and many more machines. We used it to make a custom keychain and to cut our names with vinyl for our notebooks.
I learned how to navigate and use Adobe Illustrator and how to use a laser cutter and vinyl cutter. I learned different ways illustrator can be used for,and applied to projects.
I learned how to navigate and use Adobe Illustrator and how to use a laser cutter and vinyl cutter. I learned different ways illustrator can be used for,and applied to projects.
Keychain
|
STEP 1.
create a new project, go into the setting and make the dimension 2.75 x 1.75 then switch the color to RGB. |

|
|
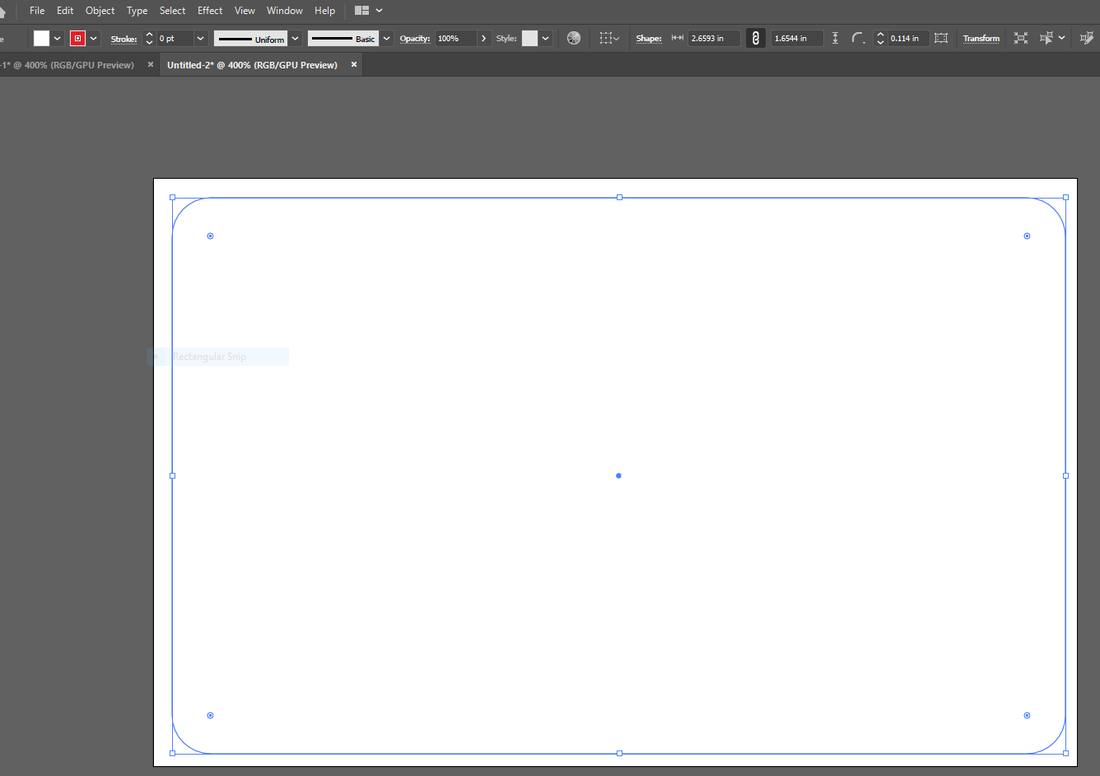
STEP 2.
After you create your project, make a rectangle as big as you would like in the white space. The on the corners round them out with the given tool. |
|
|
|
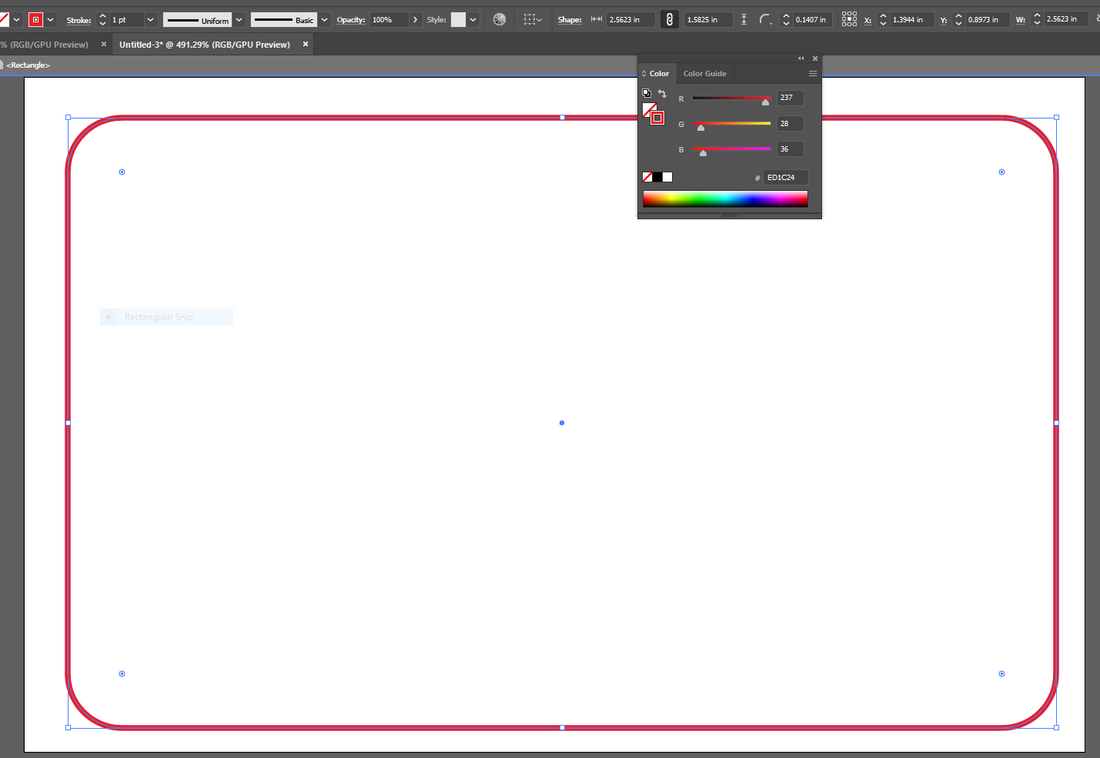
STEP 3.
change the color of the line to RED.This will signify that you want this area cut out, not engraved. |
|
|
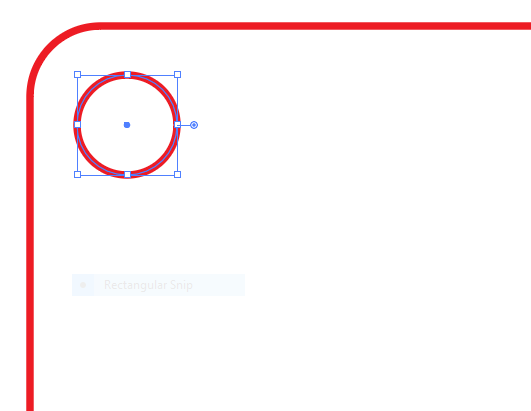
STEP 4.
Add in a circle for the loop of your key chain. make this RED as well. Make sure it is .2 inches in diameter. |
|
|
STEP 5.
Change the thickness of the line to .0001 |

|
|
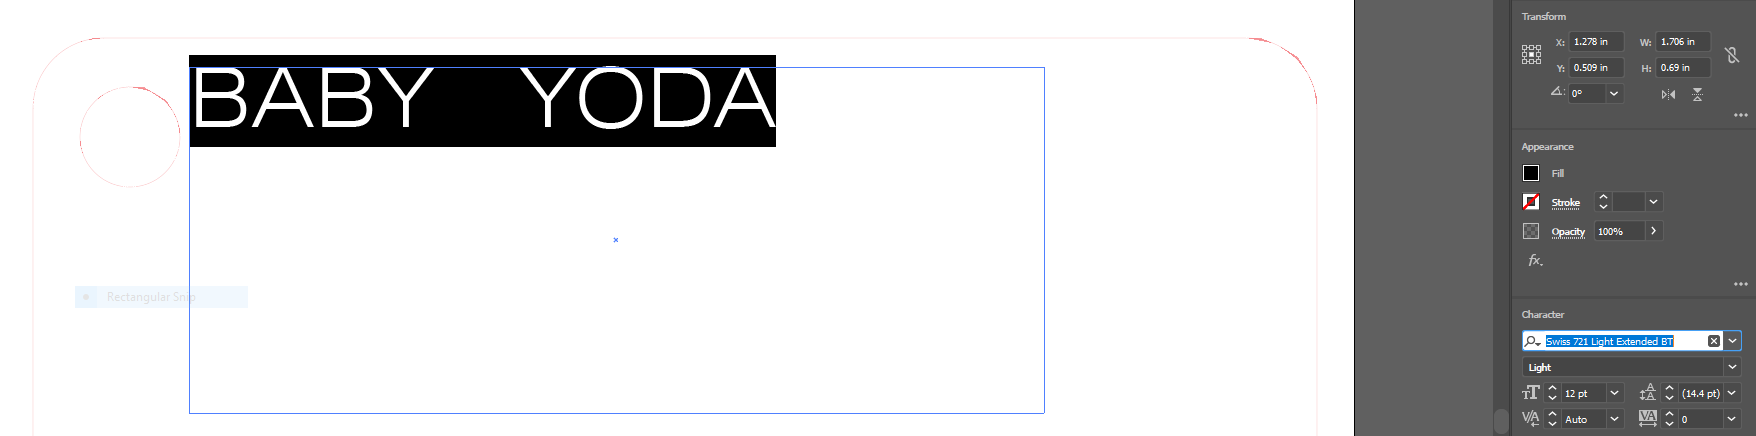
STEP 6.
Add in the text that you want with the text button and in the right side of the screen, choose the font that you want yours in. |
|
|
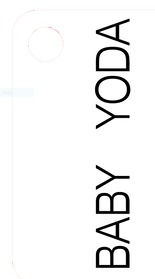
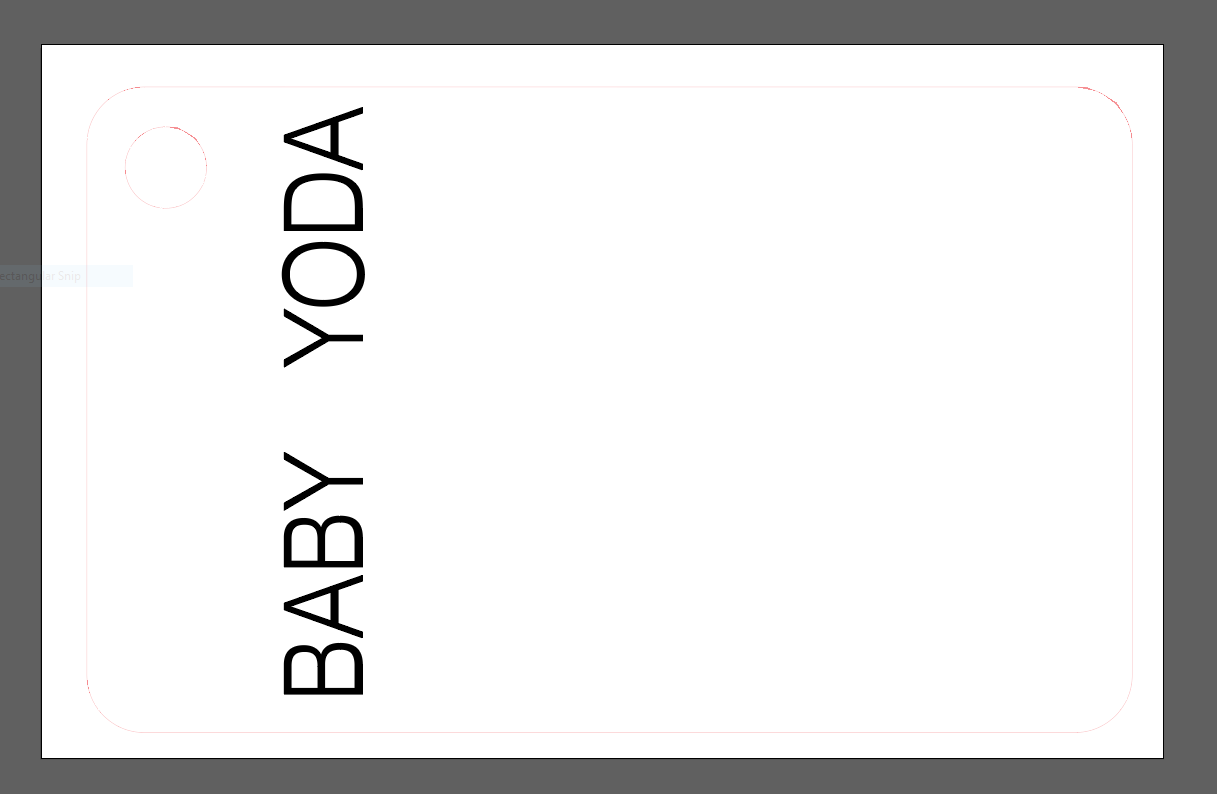
STEP 7.
position the text in your preferred way. |
|
|
|
STEP 8.
Find an image on the internet. make sure you search "BLACK AND WHITE CLIPART" after the image you want. then copy the image. right click and select copy. |
|
|
STEP 9.
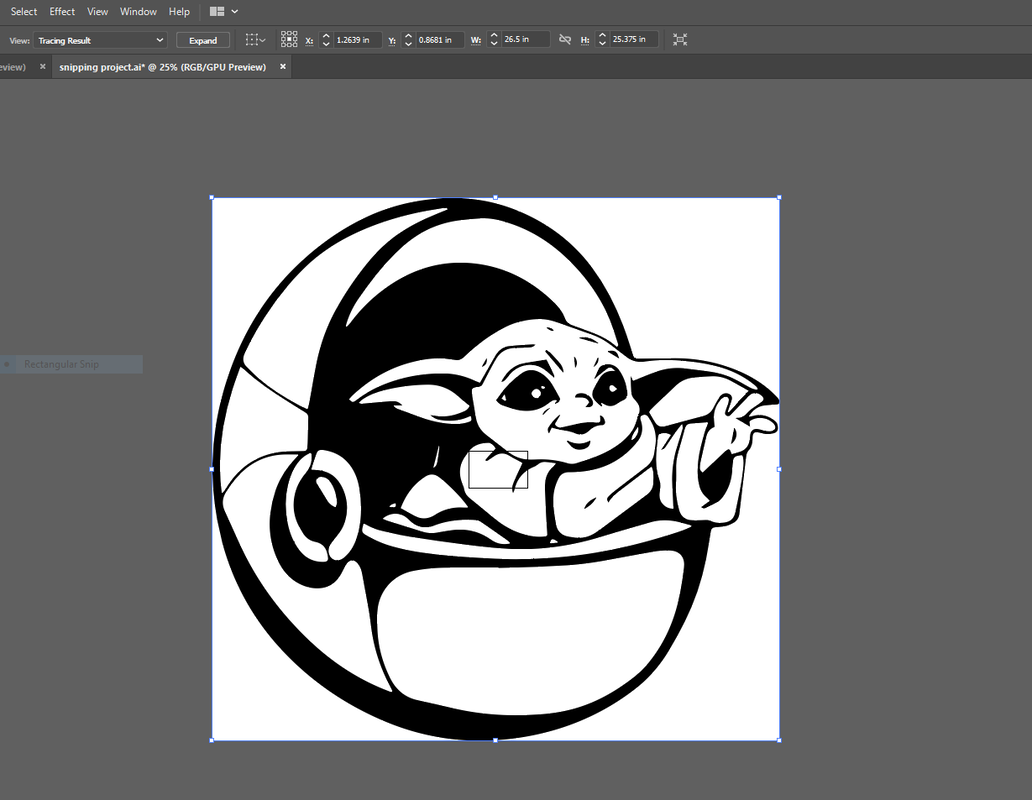
Go back into illustrator and paste in your image (Ctrl+V) |
|
|
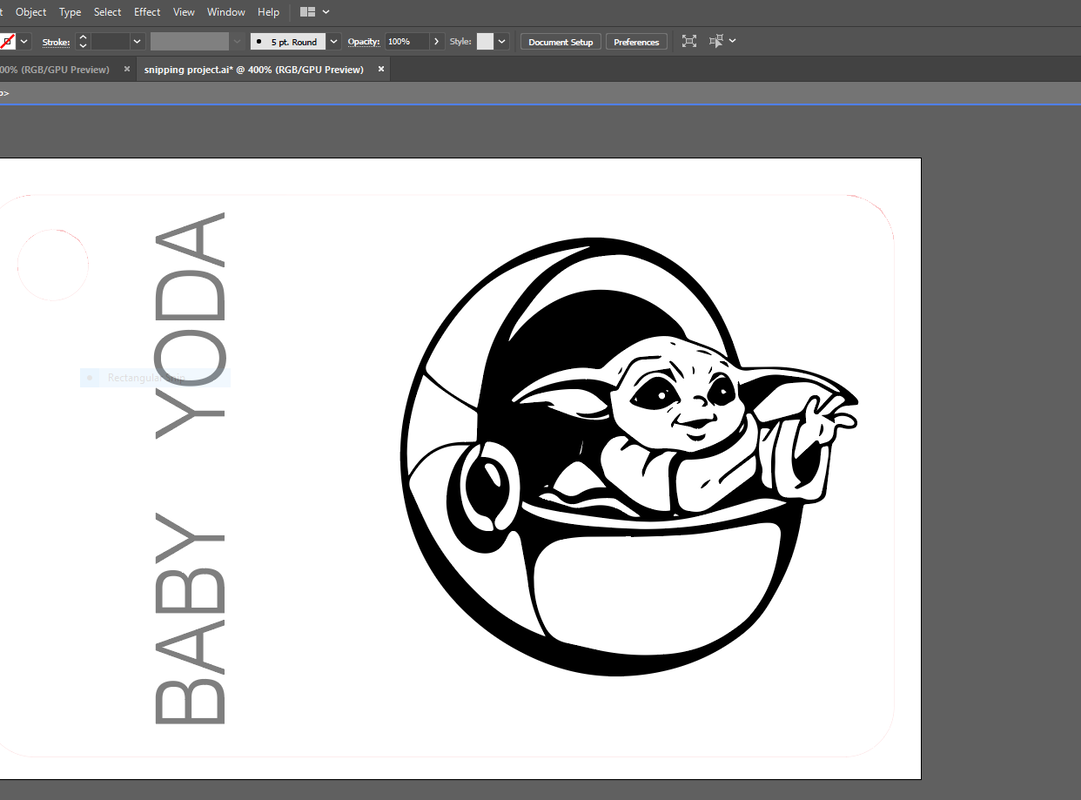
STEP 10.
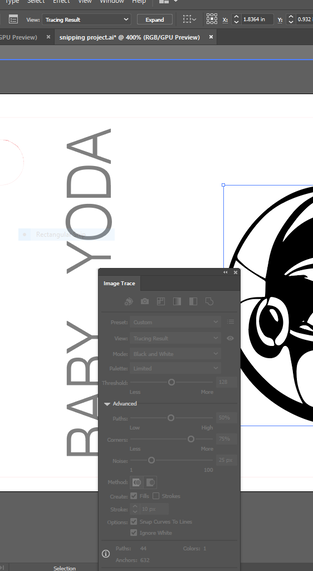
Click on the settings bullon in the top left and then in the advanced section, click "INGNORE WHITE" |
|
|
|
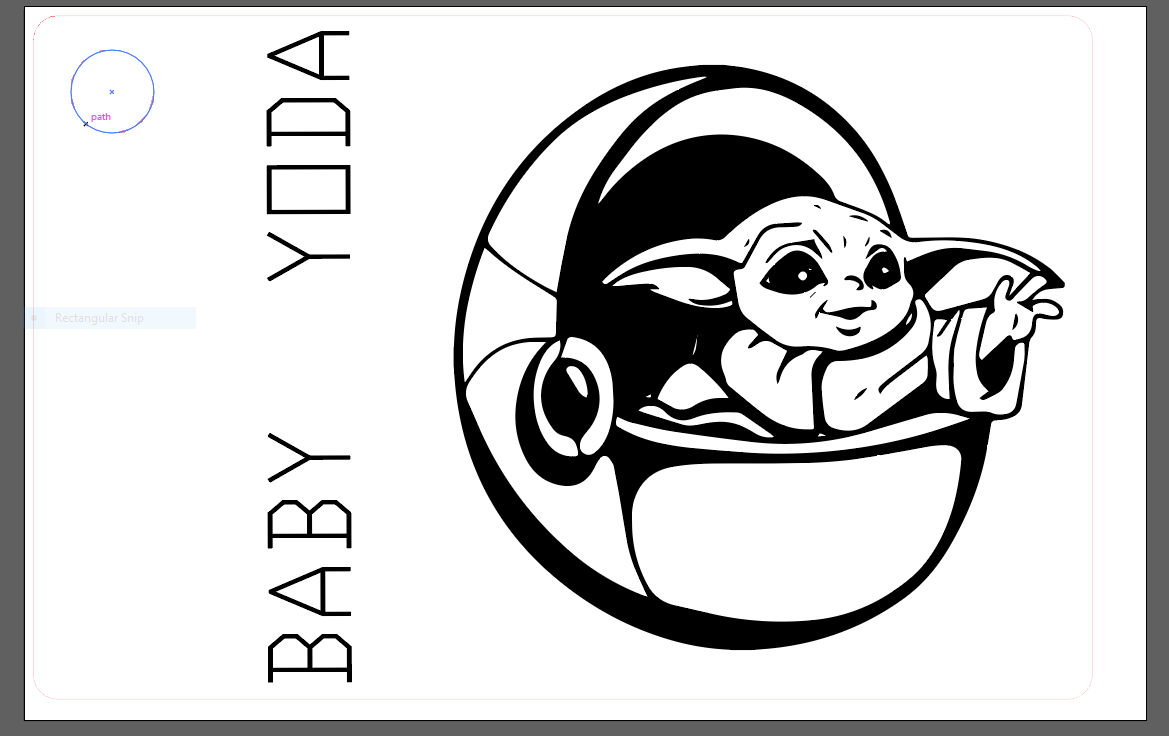
STEP 11.
Adjust the picture to size on your rectangle Then click the expand button (Top Left) |
|
|
STEP 12.
Make any other minor adjustments to your project and then get ready to send it off to the engraver. |
|
|
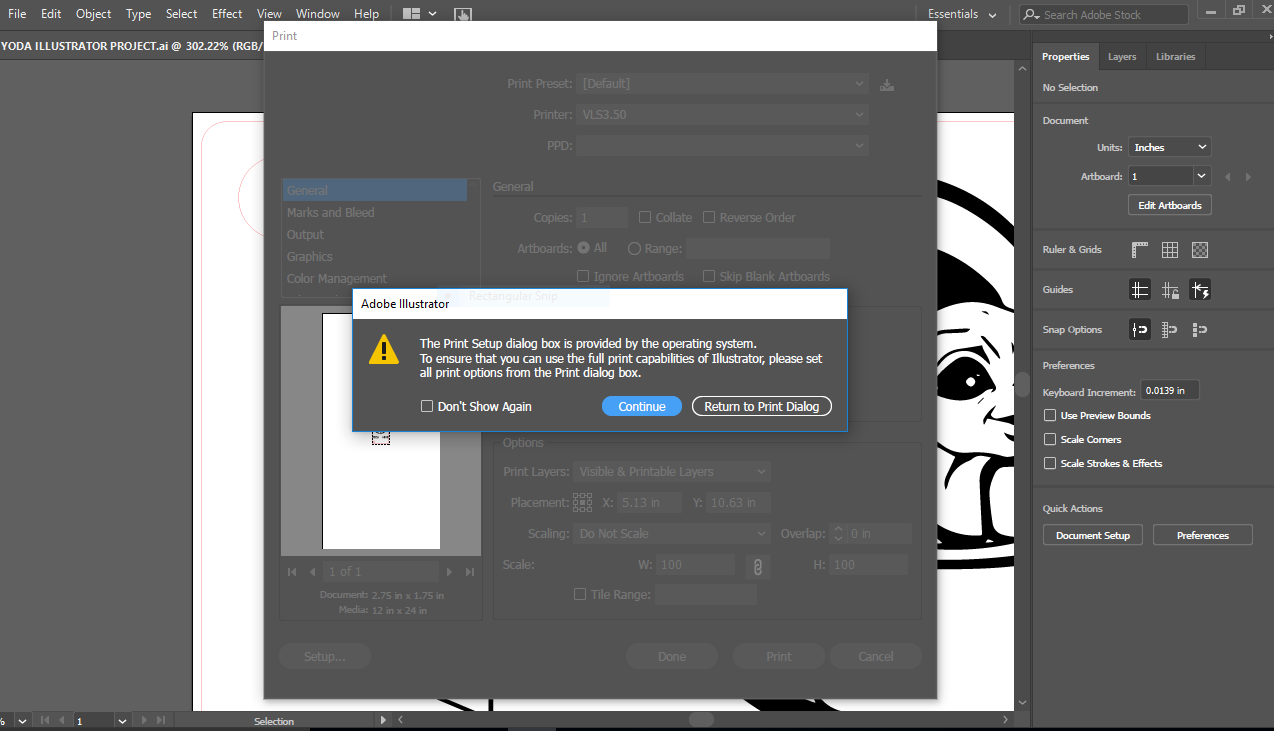
STEP 13.
After your designed keychain is done, go into file and hit print. then go into the settings. Click continue if a message shows up. |
|
|
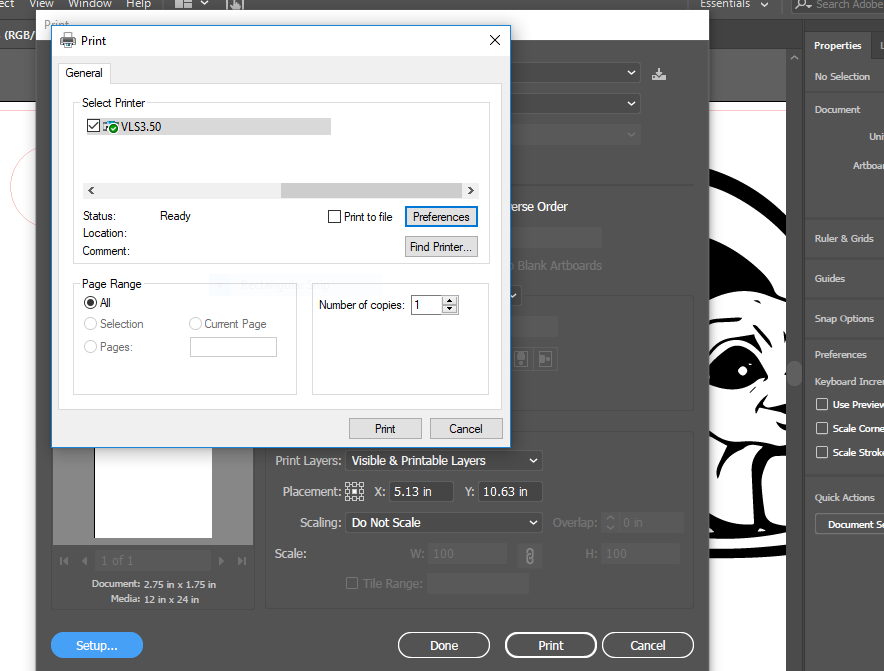
STEP 14.
in the setting click on the preferences button |
|
|
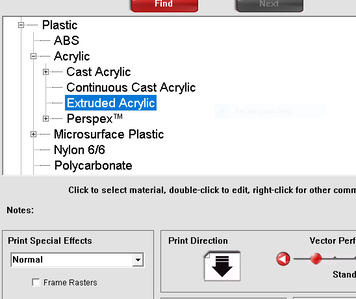
STEP 15.
Select the type of plastic you are using for your project. i am using extruded acrylic. the change the thickness in needed. once everything if correct hit apply and then print. once the print men shows up adjust the picture as needed |
|
|
|

|
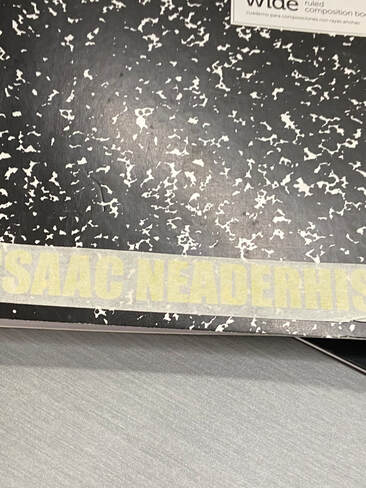
Vinyl Cutting
In this project i used Illustrator to make a vinyl decal of my name for my designer notebook.
|
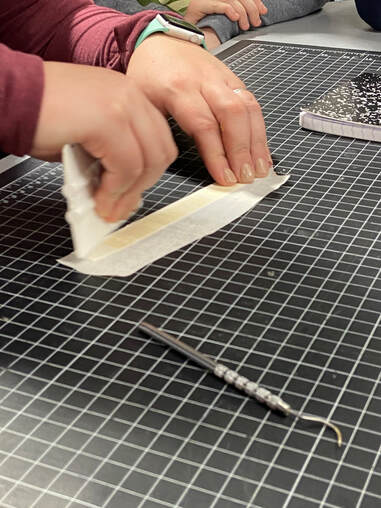
STEP 1.
Cut out the printed Vinyl strip with your name on it and put some painters tape over it |
|
|
STEP 2.
smooth it out and make sure there is no creases in it |
|
|
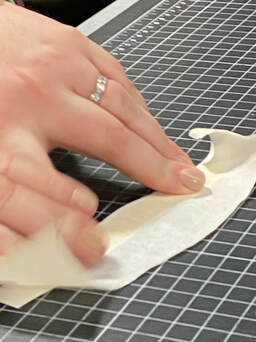
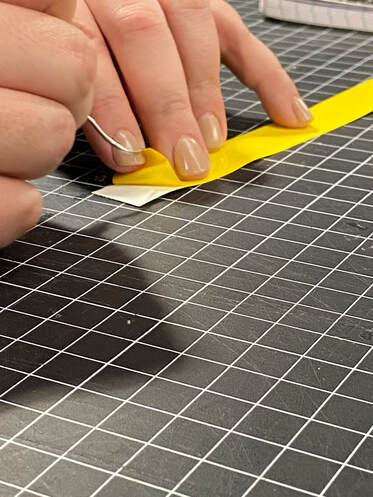
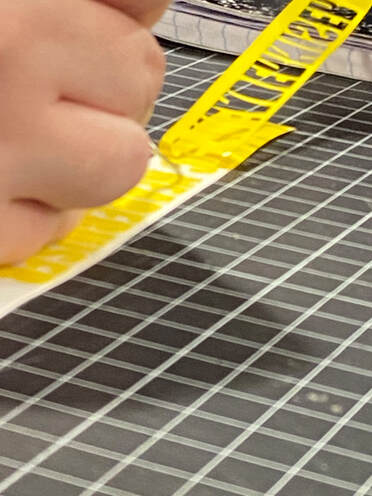
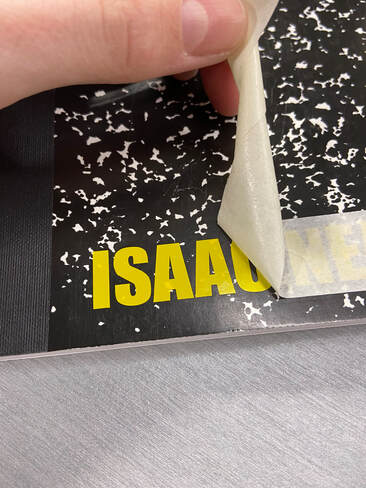
STEP 3.
Lift up the outside of the vinyl. this will leave the letter on the painters tape |
|
|
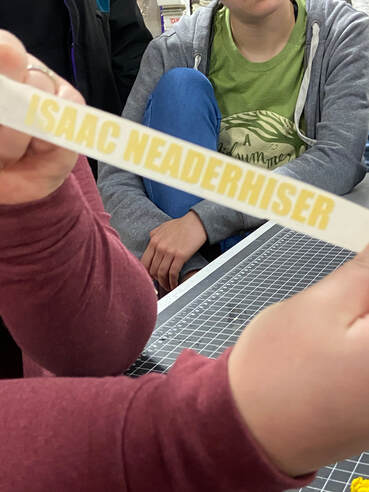
STEP 4.
use tools if needed to take out the insides of letters |
|
|
|
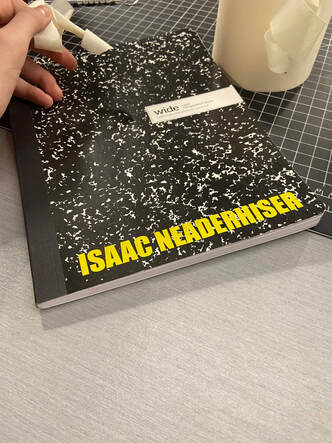
STEP 5.
Stick your decal onto whatever you want. in my case, my notebook. |
|
|
STEP 6.
Slowly peel away. The vinyl is stickier that the tape so it will stick o the notebook. |
|