Inventor is a program used to create and make 3D prints. You can use its tools to design your own projects and the make them using a 3D printer.
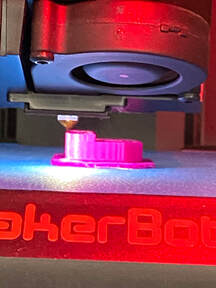
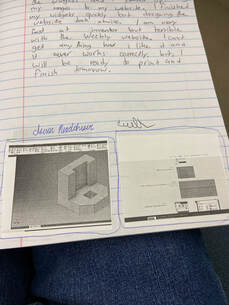
In this activity i learned how to put my files onto a 3D printer and then use the maker bot to print what i had made.
In this activity i learned how to put my files onto a 3D printer and then use the maker bot to print what i had made.
|
|
|
|
|
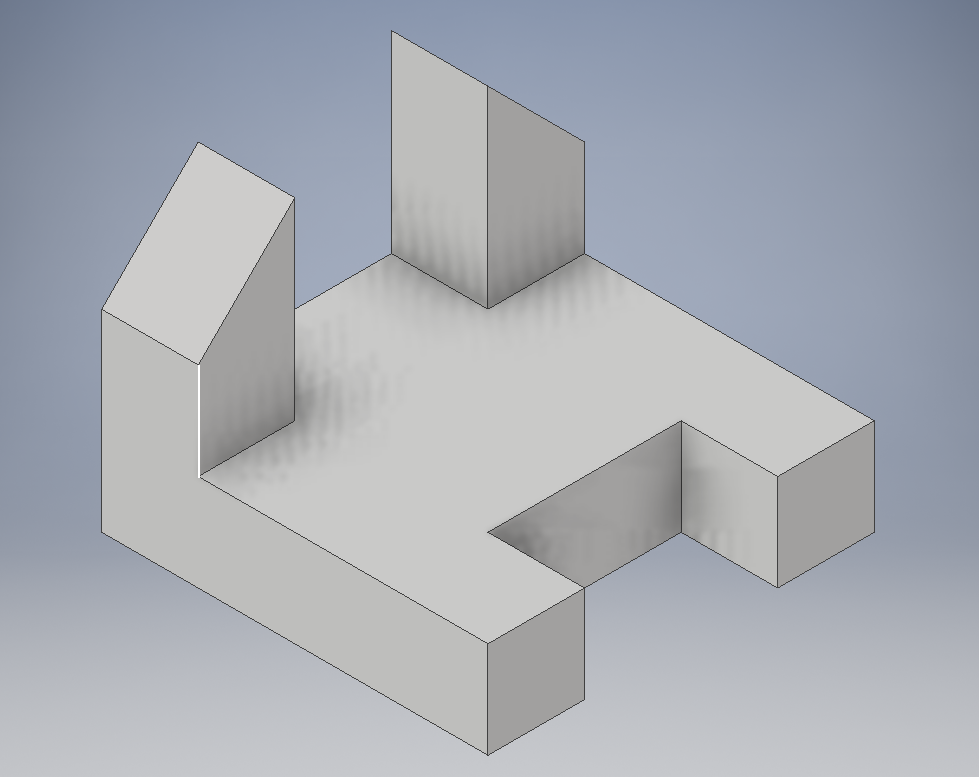
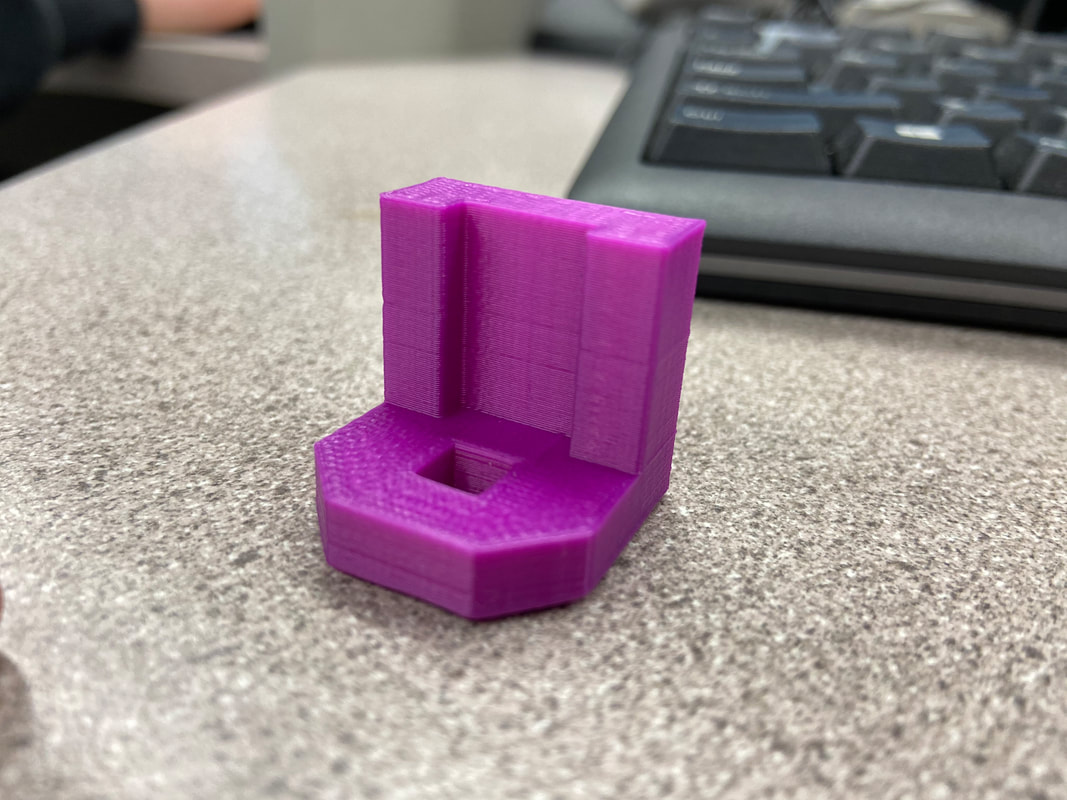
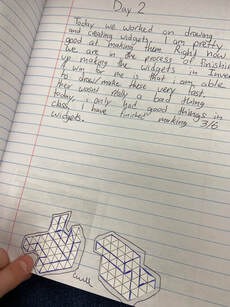
Step by step instructions on how to make this Widget.

|
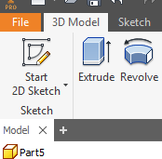
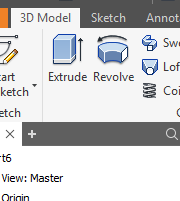
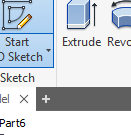
STEP 1.
Start a new sketch in INVENTOR |
|
|
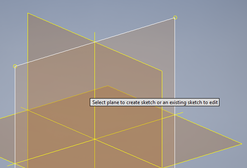
STEP 2.
Select the XY plane to work in. |
|
|
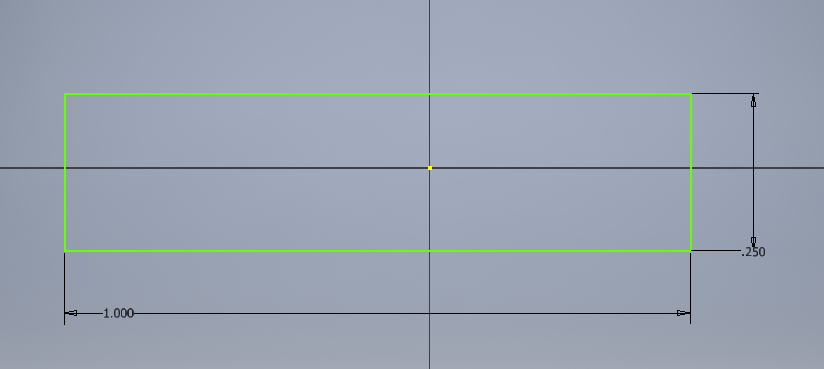
STEP 3.
Create a rectangle in your space and dimension it to 1 inch by a quarter inch |
|
|
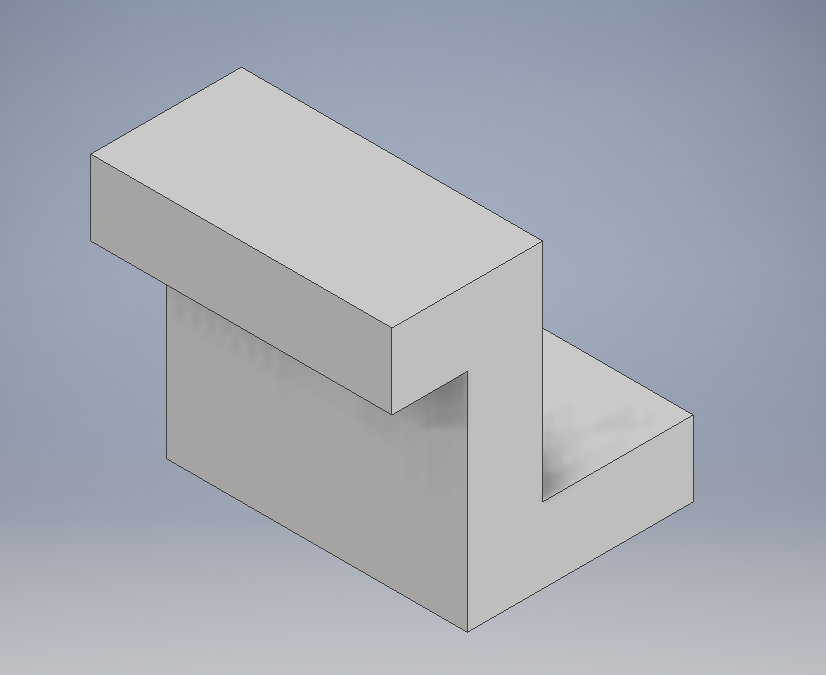
STEP 4.
Extrude your rectangle one inch long. |
|

|
|
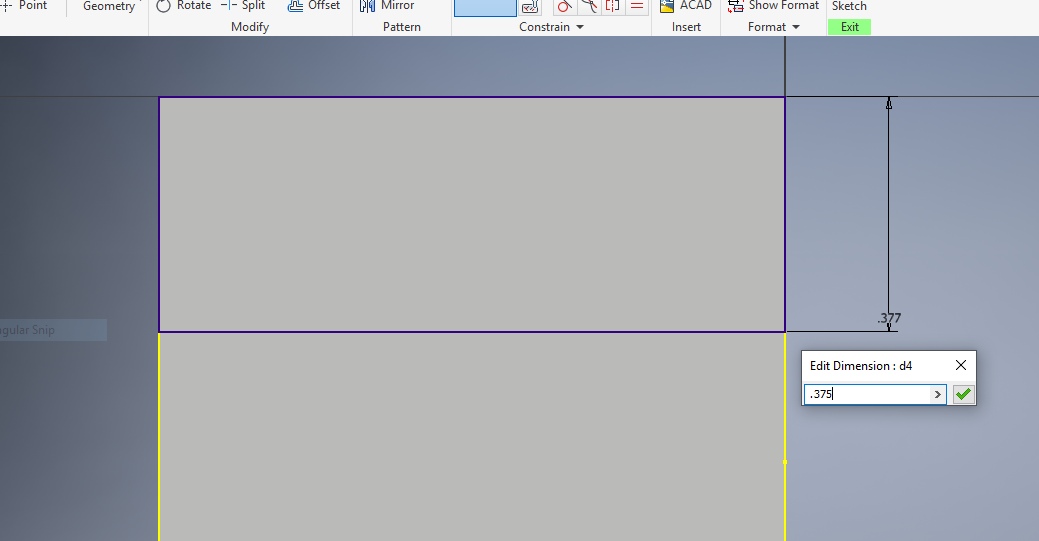
STEP 5.
create a new sketch on the TOP side of your new rectangle. then add a new rectangle and dimension it .375 inches long. |
|
|
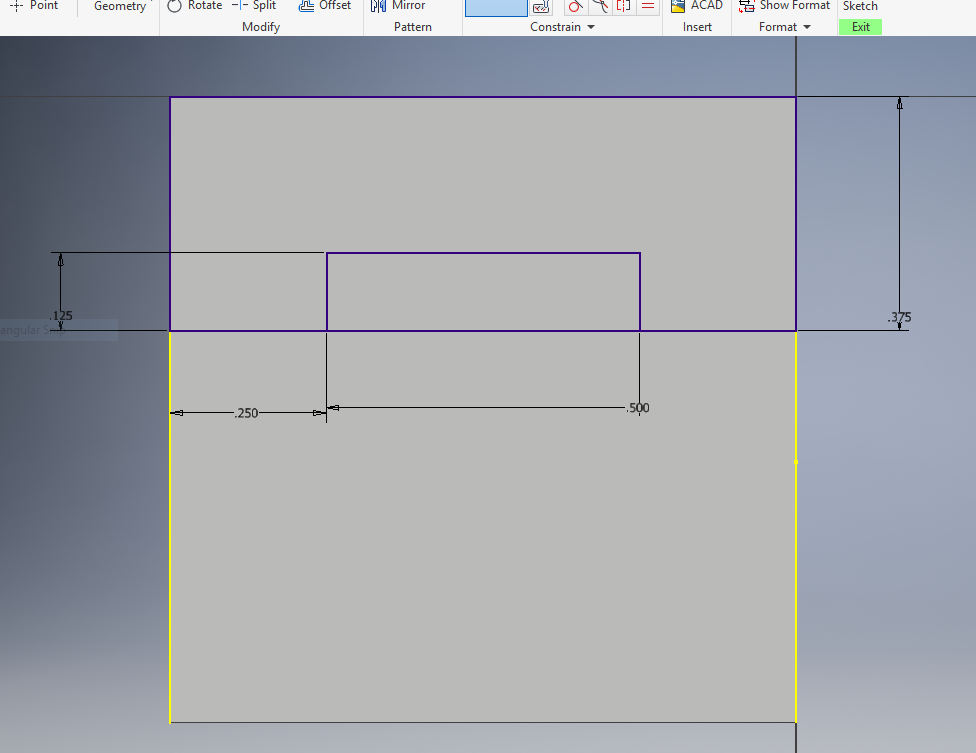
STEP 6.
Add in the indentation for the top column. it should be centered and have the dimensions of .5 in by .125 in. |
|
|
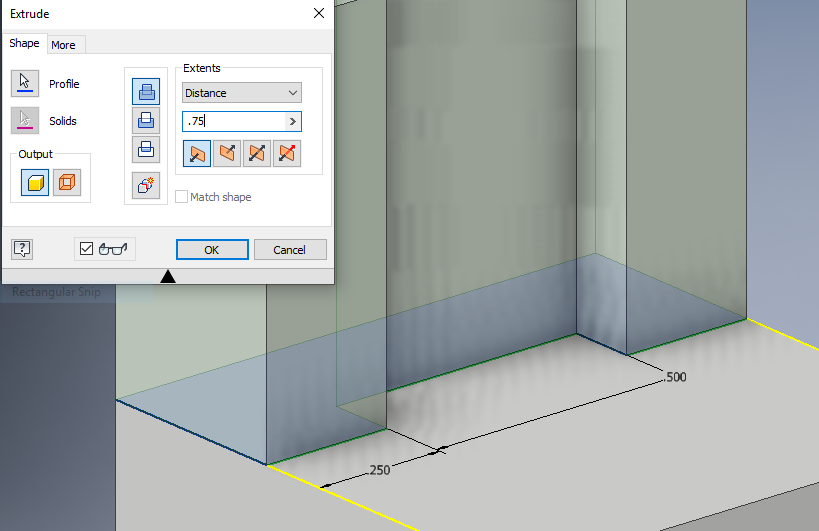
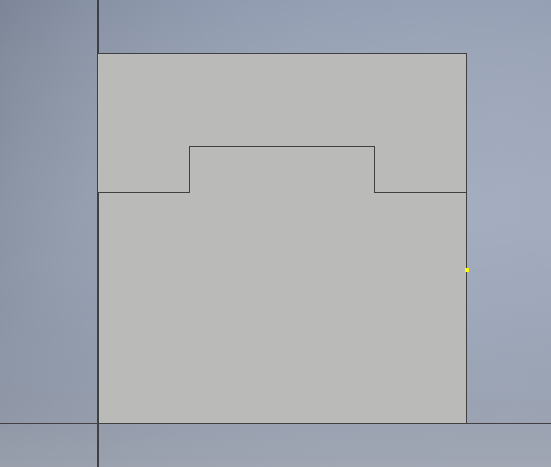
STEP 7.
Finish your sketch and extrude upwards .75 inches. this will make the total height 1 inch. |
|
|
STEP 8.
Start a new sketch on the top side of the square. NOT the extruded part. |
|
|
|
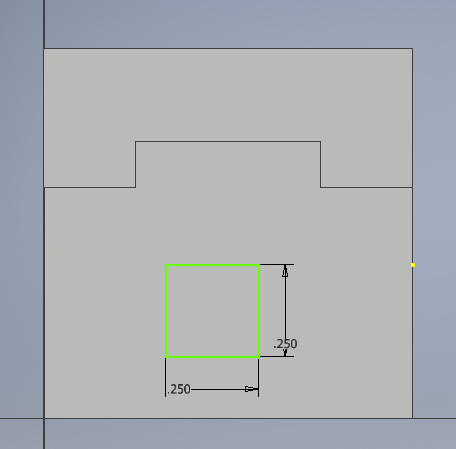
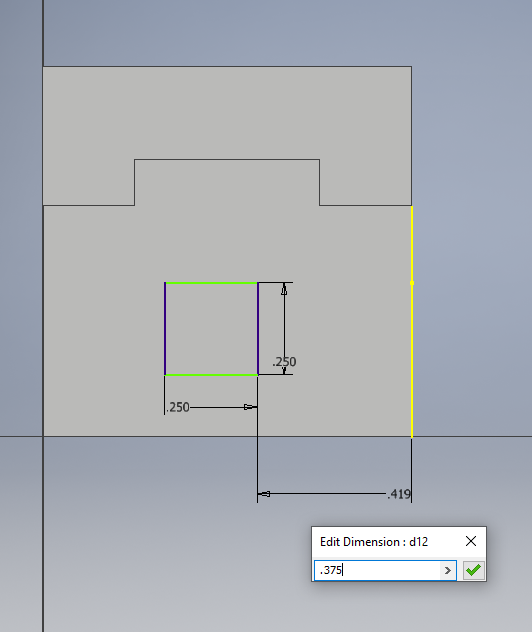
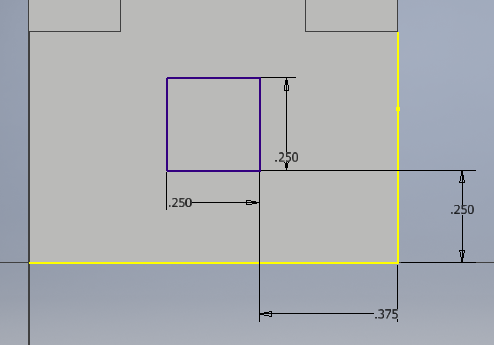
STEP 9.
Add a square in your sketch with the dimensions of .25 x .25 inches then make it .375 inches from the right side, and .25 inches from the bottom. |
|
|
|
|
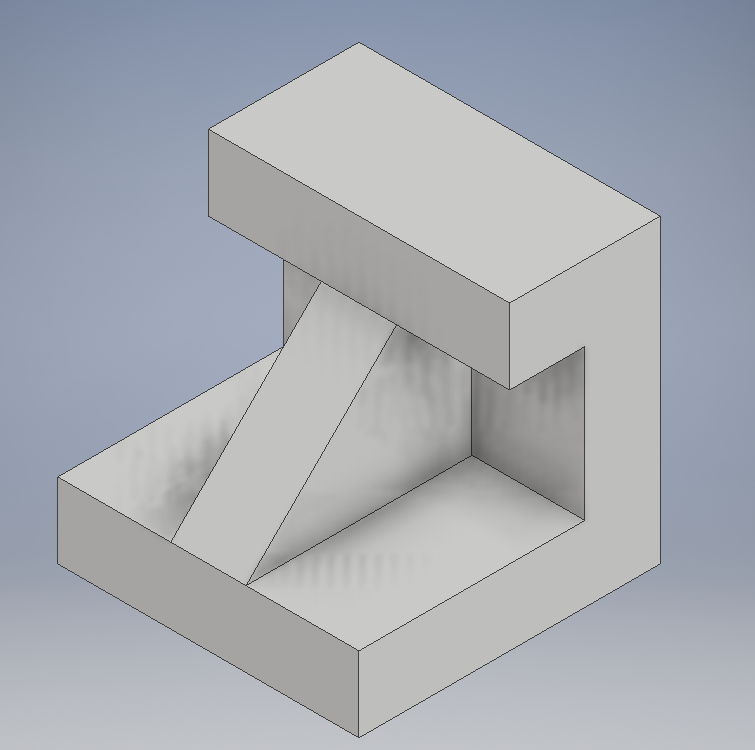
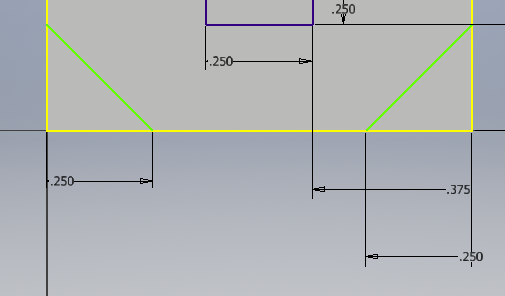
STEP 10.
add in 2 lines that go from .25 inches from the bottom and side to create a right triangle. this will be the edges of your widget. |
|
|
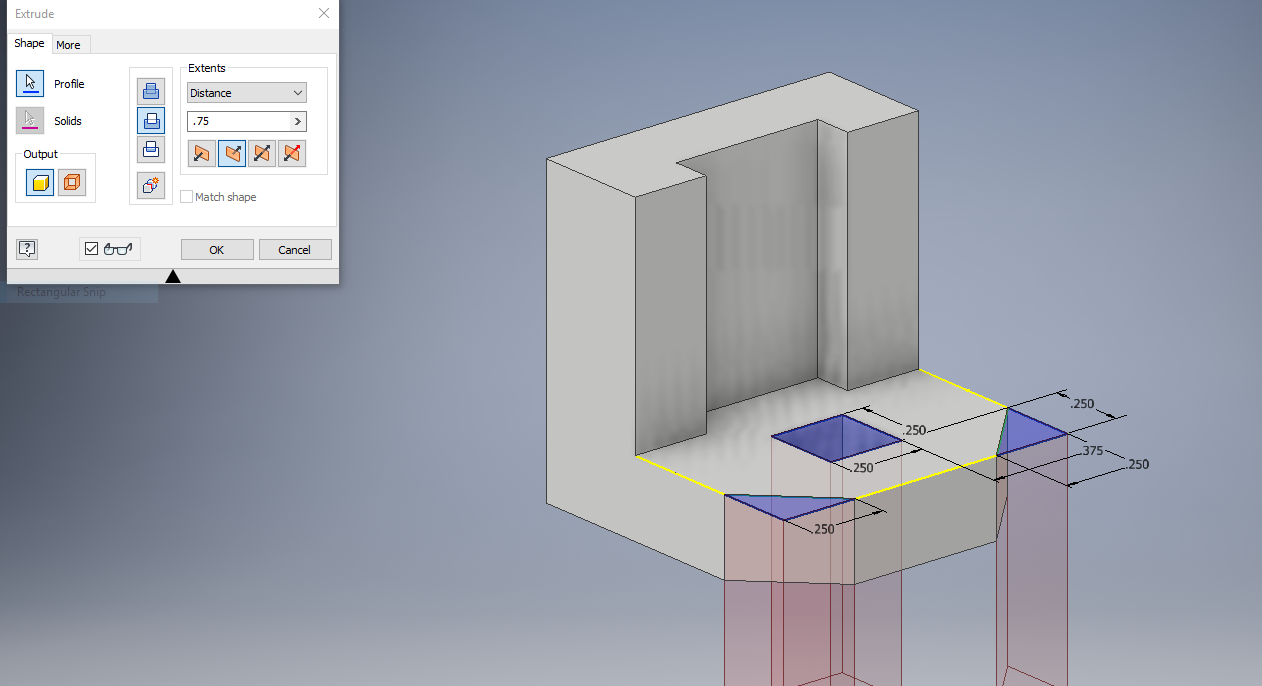
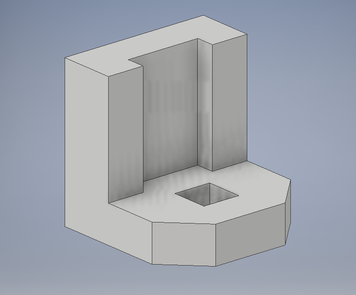
STEP 11.
Use the hole feature in extrusion to cut away the three slots you have just made. this will complete your widget. |
|
|
|
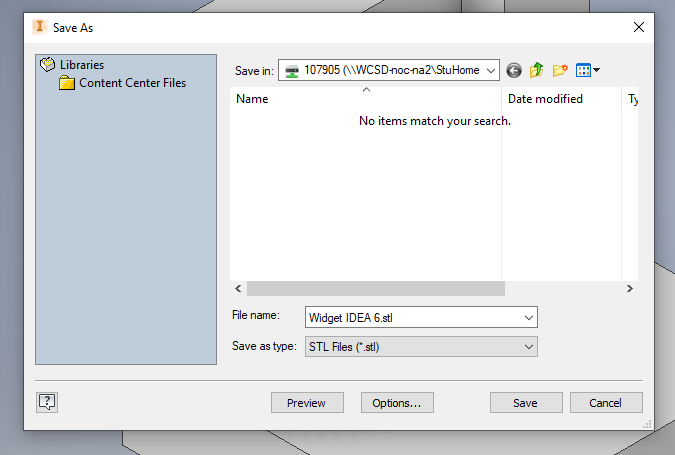
STEP 12.
export your file to Maker Bot in CAD format as an STL. |
|
|
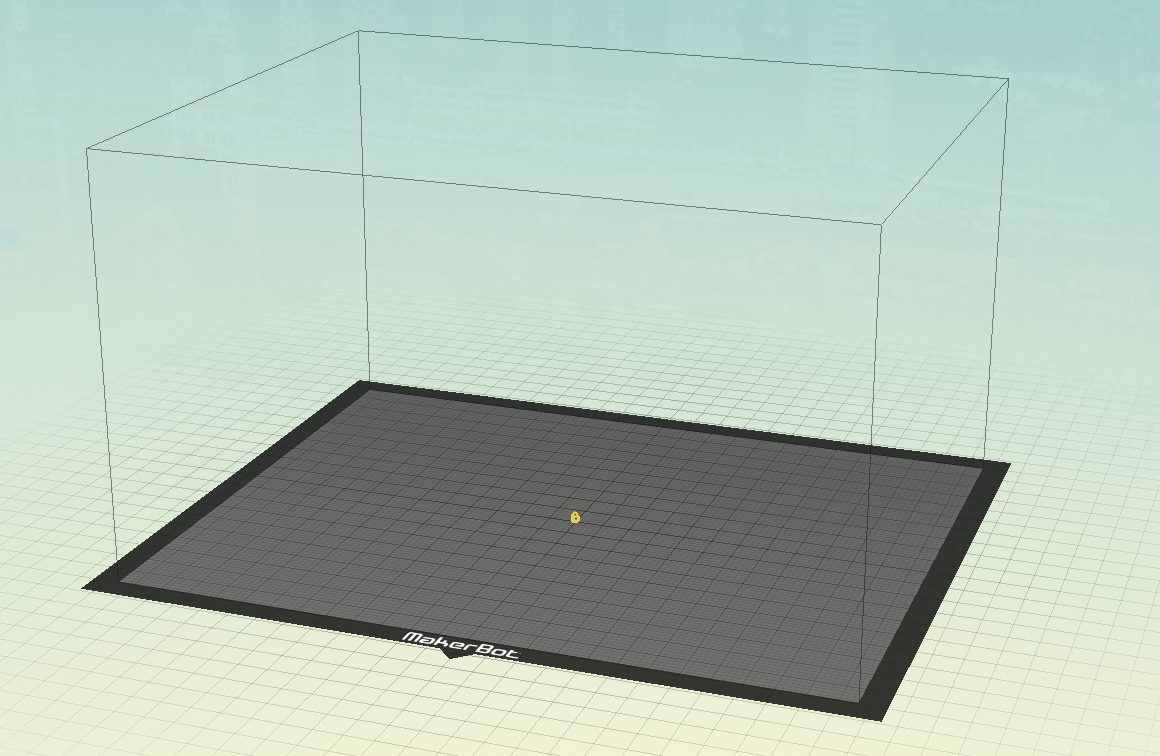
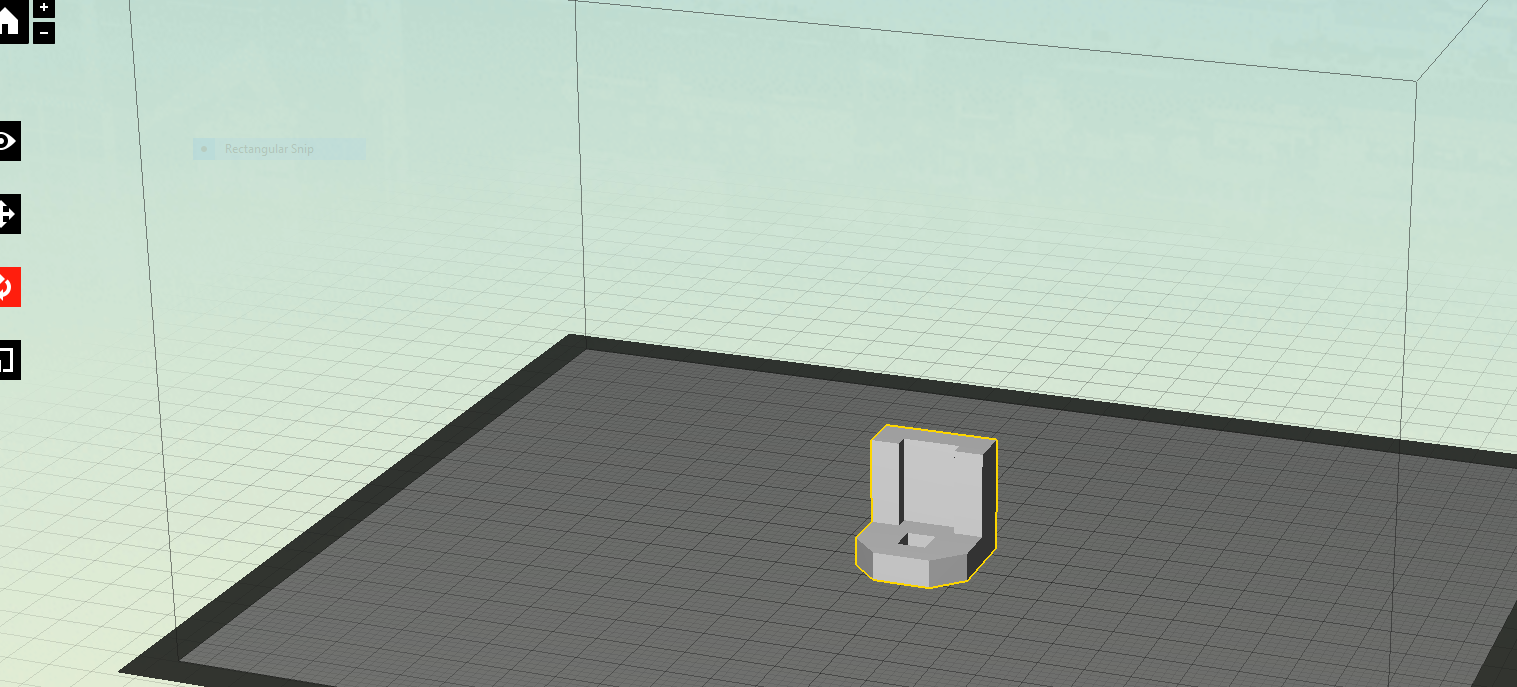
STEP 13.
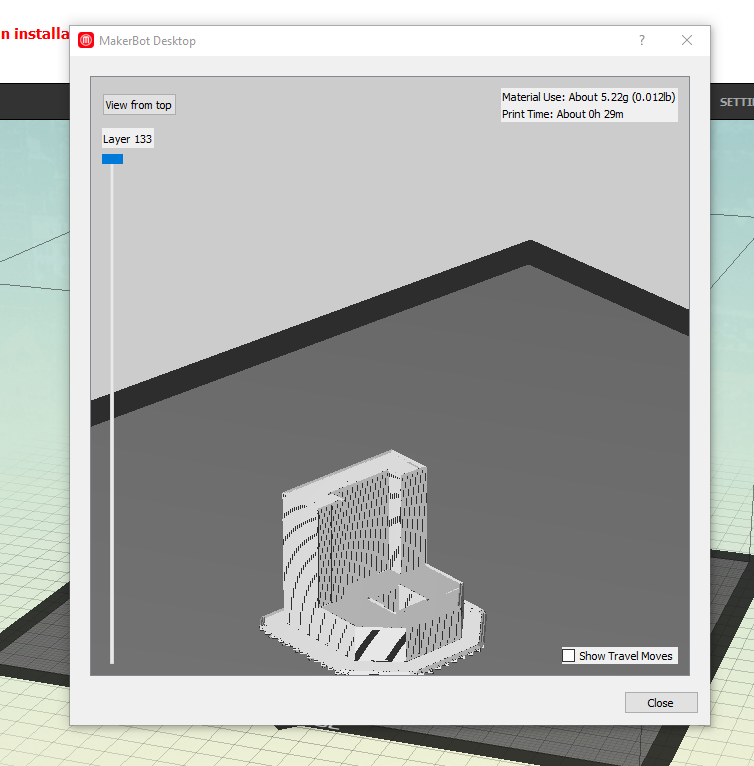
open your file in maker bot and size up your shape to 1000%. |
|
|
|
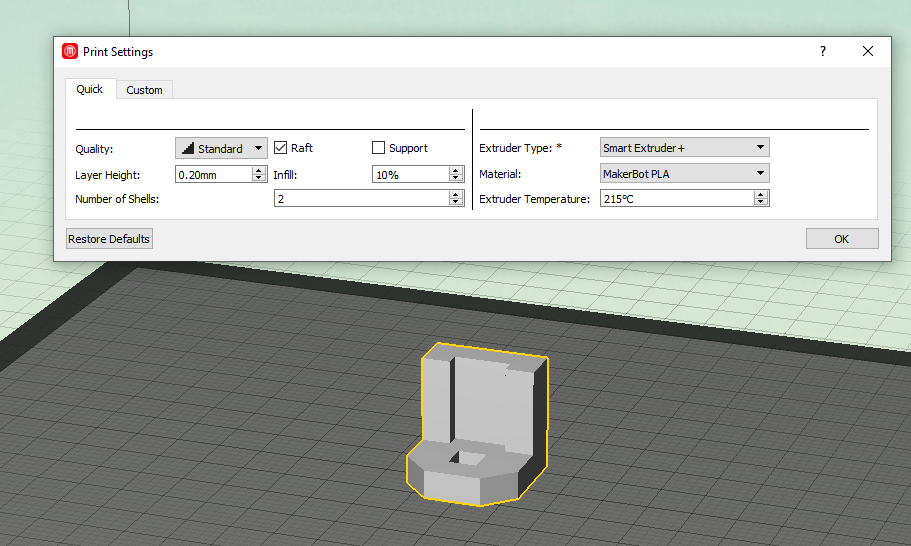
STEP 14.
in setting make sure raft is selected and it is in Smart Extruder + this will let your print work. |
|
|
STEP 15.
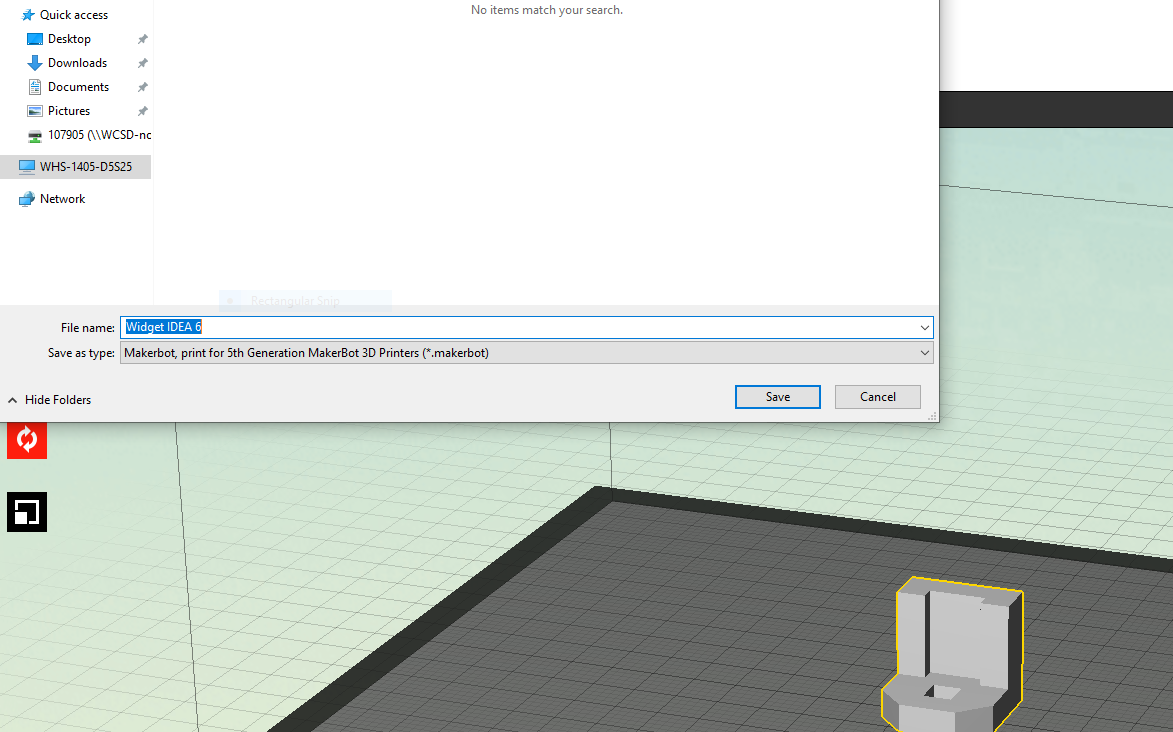
save your widget and export to a flash drive to take to the 3D printer. |
|
|
|
|
|
|
